

The Confident Weaver’s Guide to Rigid Heddle
Introduction
As the editor of Easy Weaving with Little Looms, few things bring me as much joy as helping a new weaver take their next step into weaving, or, in some cases, helping them to take that very first step. Finding the answers to your beginning weaving questions should be quick and easy, so you can spend less time searching for tutorials and more time weaving.
It’s with this mindset that we put together this resource page, full of tips, tutorials, and other useful advice, starting with basic information on the rigid-heddle loom and going on through warping, weaving, and finishing—as well as all the little steps in between.
Use these links to help you start weaving or skip to the different key topics. Even as an experienced rigid-heddle weaver, I still sometimes need a refresher, and I love how easy this page makes it to find exactly what I need. No matter where you are on your weaving journey, I invite you to let us help you build your skills and your love for weaving.
—Christina
Setting Up and Preparing to Weave
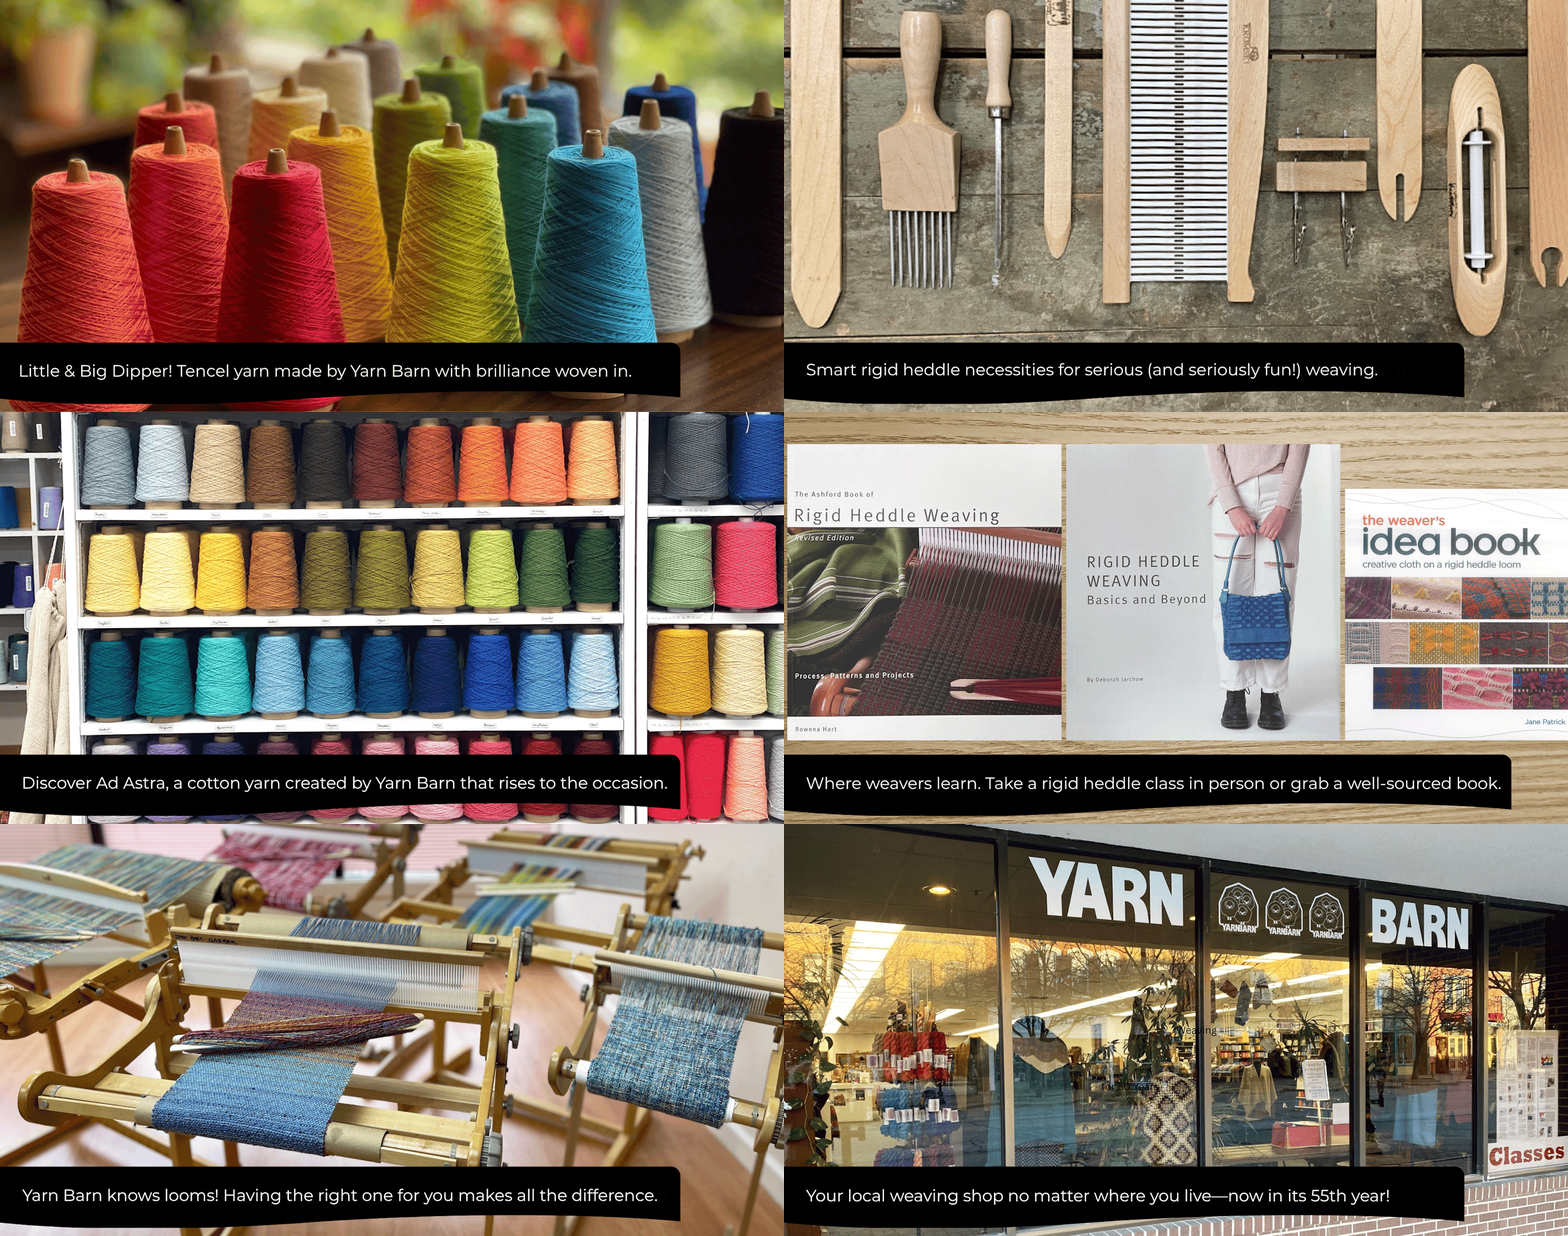
Get Set Up with One of Our Favorite Shops
There’s nothing quite like visiting your local yarn and weaving supply shop when you need advice on weaving, help with a specific project, or want to try out a new loom or shuttle. These shops are more than just stores—they’re places where weavers can find community and guidance. When I lived in eastern Kansas, Yarn Barn of Kansas was my local yarn shop, and no trip to Lawrence, Kansas, was complete without a visit to look at yarn and play on the looms.
After moving away and learning to weave, I made sure every trip back to Kansas to visit family included a stop at Yarn Barn to stock up on my favorite weaving yarns, upgrade my weaving tools, and see what new—or at least new-to-me—weaving books could be found. I haven’t lived in Kansas for almost twenty years now, but I still consider Yarn Barn of Kansas my local yarn shop. They have everything I need for my rigid-heddle weaving, and I know I can email or call the shop with questions and get the same cheerful help I’d get in person. I don’t feel like a customer; I feel like a part of their community. And isn’t that what having a local yarn shop is really about?
—Christina
Tips and Troubleshooting
Finishing
Watch and Learn
- Beginning Weaving on the Rigid-Heddle Loom – Start-to-finish learning how to weave.
- How to Direct Warp – Learn this simple way to get started warping quickly and easily (and it’s free!)
- Life After Warping – Learn about the proper tools to use, how to transition colors smoothly, and what to do if you bust a warp thread.
- Wet-Finishing for Weavers – Join expert weaving instructor Laura Fry to learn how to bring your woven cloth to its greatest potential.

Thanks to our page sponsor, Yarn Barn, for their support!
Learning how to weave but need the right shuttle? Hooked on knitting and in search of a lofty yarn? Yarn Barn of Kansas has been your partner in fiber since 1971. Whether you are around the corner from the Yarn Barn of Kansas, or around the country, they are truly your “local yarn store” with an experienced staff to answer all your fiber questions. Visit yarnbarn-ks.com to shop, learn, and explore.
Keep Reading for More Weaving Resources!
Five Projects You Can Warp and Weave in a Weekend
Get our top picks for projects that can be woven start-to-finish in a weekend.

I don’t know how it works in your world, but as soon as October hits, my life gets exponentially more hectic, and it doesn't calm down again until New Year’s Day. So, on the rare occasion I have a weekend where I have the time to sit down and weave, I prefer projects that I can warp on Saturday and finish by Sunday. Something that makes me feel accomplished without being too stressed out.
The Recipe for Weekend Weaving
Over the years, I’ve developed a set of criteria I use when it comes to my ideal weekend weaving project, and it’s these criteria that helped me narrow down to the five weekend projects we’re bringing you today.
Easy to warp. I want a project that’s relatively simple to warp—no double heddles, heddle rods, or complicated color orders. Pin-loom projects are especially great in this regard. On a 3-pin style loom, you warp by wrapping yarn around pins (easy). On a continuous strand pin loom, you warp and weave simultaneously (also easy).
Stash-friendly yarns. Often, I don’t know if I have a free weekend until a couple of days beforehand, so I don’t have time to source specific, specialty yarns. I want a project that either uses yarns I already have in my stash or features yarns that are easy to substitute with what I have on hand. I have zero issues changing up the palette of the piece, and sometimes I end up preferring my version more!
Works on the looms I already have. Contrary to what some might believe, I don’t have a fleet of looms at my disposal. My largest rigid-heddle loom is 16 inches wide (so I’ve only picked projects that can be warped on almost any loom size), and I only have a few pin-loom shapes. Anything I choose to weave needs to work within those limitations, either as-written or with some simple modifications.
Fits my energy level. Finally, it doesn’t matter if a pattern fits within my ideal weekend weaving project criteria if I don’t have the energy to weave it once the weekend arrives. If I have a fair amount of energy, I typically weave a scarf or set of towels, possibly with some color changes and pick-up involved. If I’m exhausted but still want to be creative, I’ll probably stick to plain-weave, thick yarn scarves or pin-loom projects with minimal piecing. Many of the projects in this project pack are great for letting you play or keeping it simple.
Weekend Weaver Project Pack
If you’re feeling inspired to take on a project this weekend, but don’t know where to start, I’ve got a few suggestions! We've put together our Weekend Weaver Project Pack, a selection of five projects that can be warped and woven in a weekend. The project pack contains PDF downloads for each project in one convenient location so you can easily download any and all you'd like to weave.
 Infinitely Spectacular Scarf by Angela Tong
Infinitely Spectacular Scarf
One skein of multicolored yarn and your rigid-heddle loom are all you need to weave this fun and casual no-sew infinity scarf. That’s right, there’s no sewing involved—just some very clever knotting of the fringe.
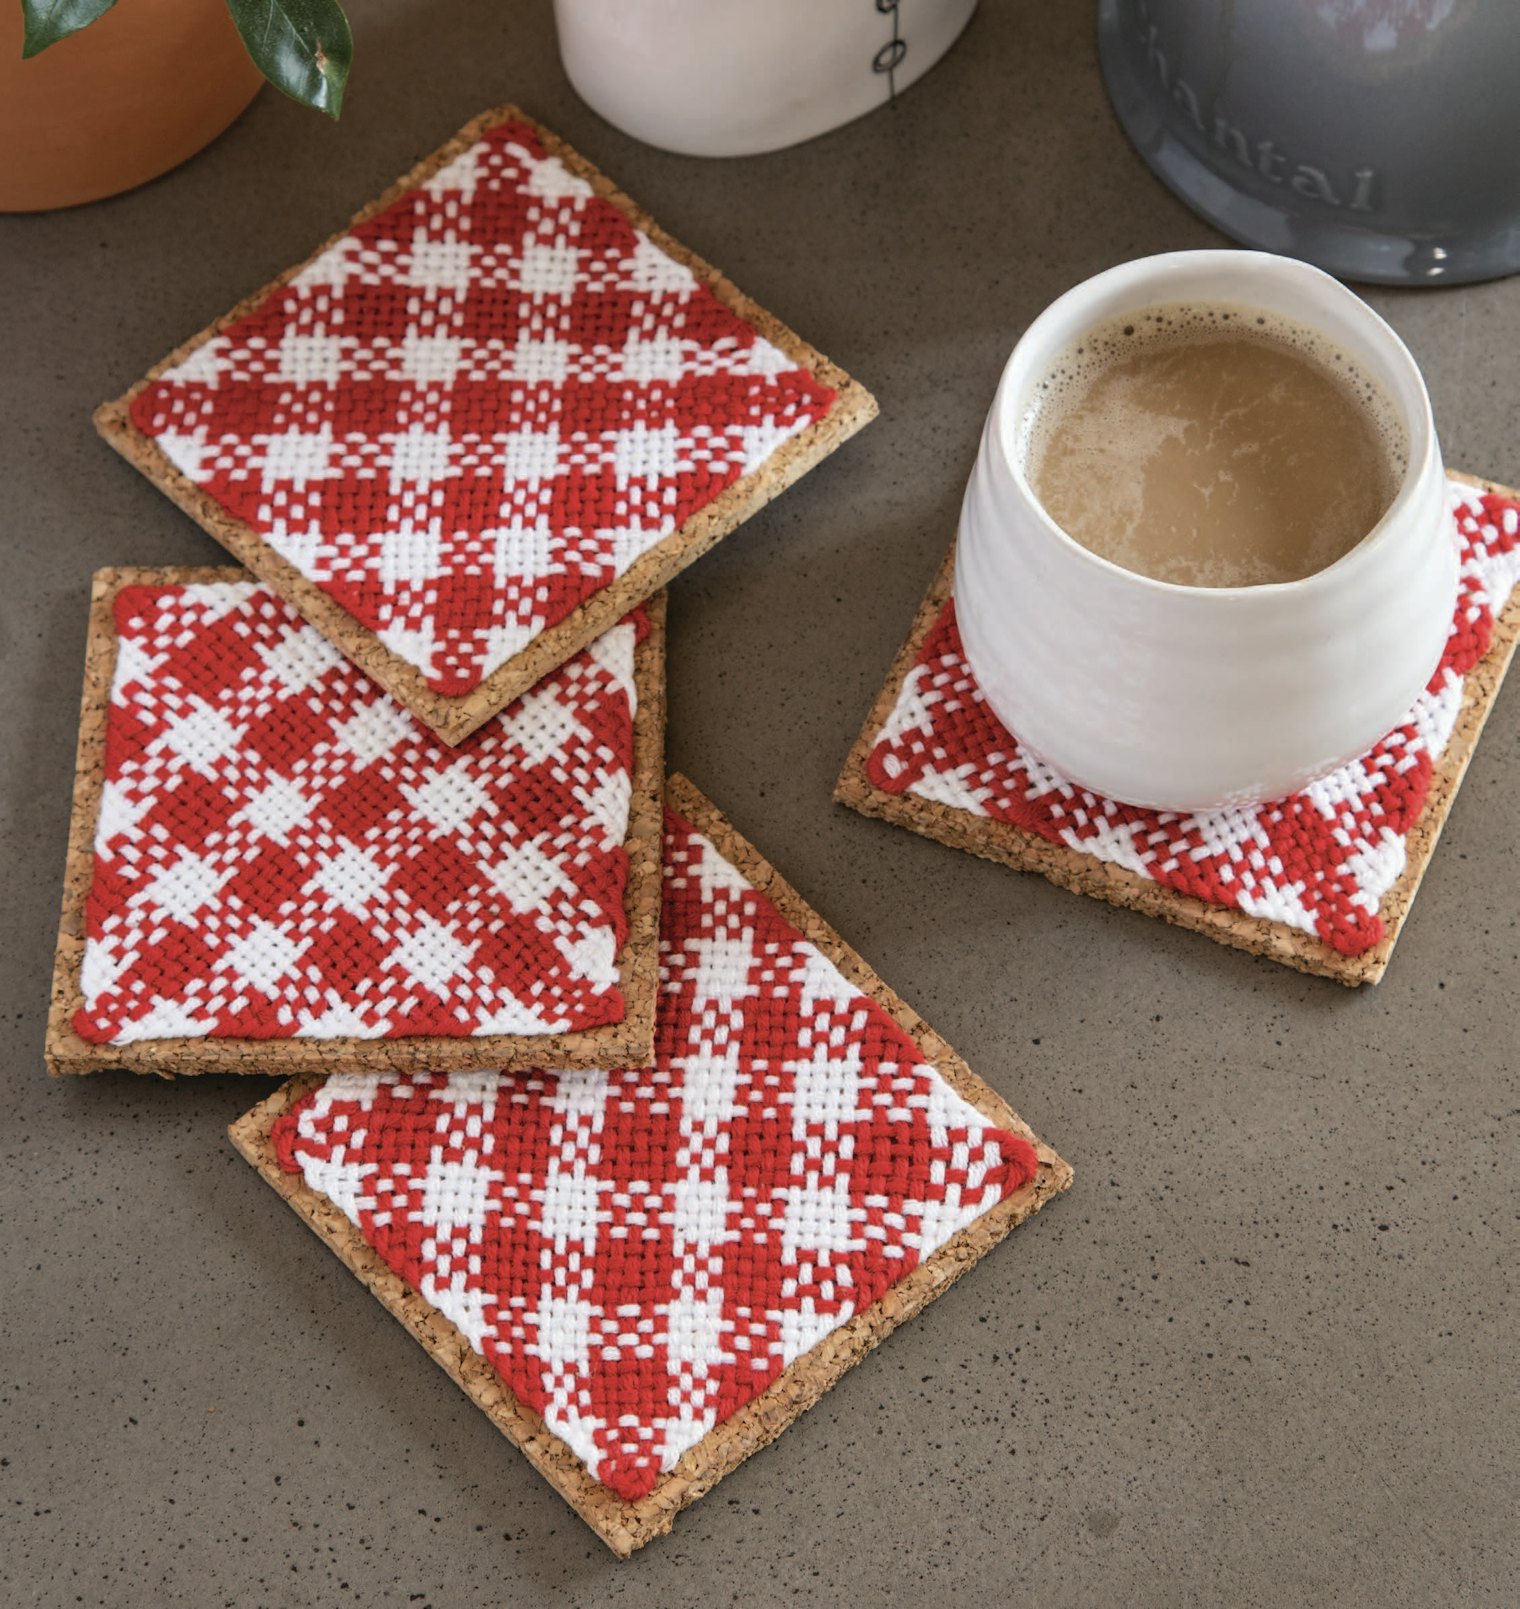 Bright Morning Mug Rugs by Hazel Spencer
Bright Morning Mug Rugs
These sweet and simple checkered mug rugs are easy to weave and can be easily adapted to use yarns you already have on hand. Even better, because each coaster uses such a small amount of yarn, it’s the perfect project for using up odds and ends in your stash. Don’t have the energy for color changes? Try using a self-striping yarn for effort-free color-and-weave effects. Don't have a square pin-loom? Weave it on a large hexagon instead.
 Spectrum Spectacle Cord by Alison Irwin
Spectrum Spectacle Cord
Don’t let the tubular weave fool you—this project is quick and easy to warp and weave. Use the same rainbow palette as Alison or design your own using whatever 5/2 cotton you have on hand. Don’t wear glasses? The cord would make a beautiful bracelet or a lovely lanyard holder.
 Fall Breeze Scarf by Gala McCurdy
Fall Breeze Scarf
Thick yarns, crammed dents, and just a 7-inch weaving width make this an extra quick and easy rigid-heddle project. Don’t want to deal with the side fringe? Weave the project as a straight plaid scarf or even skip the crammed weft picks and weave a striped scarf instead. Easy peasy!
 Pin-Loom Scrunchie by Angela Tong
Pin-Loom Scrunchie
All you need are five squares to weave this pin-loom scrunchie. Use your favorite stretchy multicolored yarn, and if you have one with a hint of glitter like the one Angela used, all the better. There is sewing, but it’s minimal, so you won’t feel overwhelmed.
Whatever your schedule or energy level, I hope you enjoy this low-stress project pack and weave something wonderful!
Happy Weaving!
Christina
Weaving Without Fear
Don't let fear of failure keep you from trying something new.

I’ve seen fear of failure paralyze would-be weavers and long-time weavers alike. I chimed in on a Facebook post by someone seeking advice on how to get started on a rigid-heddle loom. The person had read everything about direct warping and had even watched videos about it, but was still afraid to start. While everyone else suggested baby steps, my advice was to grab yarn and jump in feet first.
Then more recently, I heard a phrase that went along the lines of “If you try, you may fail, but if you don’t try, you will fail for sure.” Shortly after, I heard it again—maybe not the exact wording but with the same sentiment. I took it more seriously the second time because, clearly, the cosmos was sending me a message.
In fact, it made me sit up straight and start wondering whether there are things I don’t do because I’m afraid of failing, especially in my weaving.
 When she first had the idea to weave placemats out of raffia—in both the warp and weft—Susan was afraid it would be a disaster. However, she didn't let that fear keep her from trying anyway. Instead of a making a mess, she ended up weaving the beautiful Raffia Placemats from the Summer 2020 issue. Photo by George Boe
This fear doesn’t just hold back new weavers. When it comes to weaving with 120/2 silk I definitely have a fear of failure. I bought some 120/2 silk, intending to weave with it, but I just can’t seem to bring myself to put it on my loom. I want the scarf woven with it, but my fear of ends breaking stops me.
 When trying a new technique, it can belp to weave up something that will still be useful even if you make a few mistakes. Afraid to try weaving pebble weave for the first time? The Follow Your Star Bookmarks by Alision Irwin from the Winter 2022 issue are not only beginner friendly, they'll also work just as well if there are few misplaced floats. Photo by Matt Graves
Personally, I don't want to have my weaving ruled by fear, so I plan on pushing my fear of failure to the back of my mind. I’m going to try weaving with that silk and try anything else that I’ve thought about weaving but was worried wouldn’t work. I encourage you to do the same! Why let the people without fear of failure have all the fun?
Weave well,
Susan
P.S. Here are a few more tips that I hope will help you overcome weaving fears:
- It’s ok to start small. Sample with new materials to see if they’re as challenging as you imagined. Want to try a more complex structure such as twill or overshot on the rigid-heddle loom? Use these techniques as small-scale design elements such as a border on either end.
- When trying a new technique, it can help to weave up something that will still be useful even if you make a few mistakes. Bookmarks and towels, for example, will still be functional even if they aren’t perfect.
- If you long to weave a large project, but find it daunting, try breaking it down into smaller chunks! If you start a pin-loom blanket, but decide not to finish, you can always turn your pieces into a home décor item or blanket.
Ten Reasons You Should Try the Rigid-Heddle Loom
Rigid-heddle looms are portable, versatile, and great for weavers of all levels.
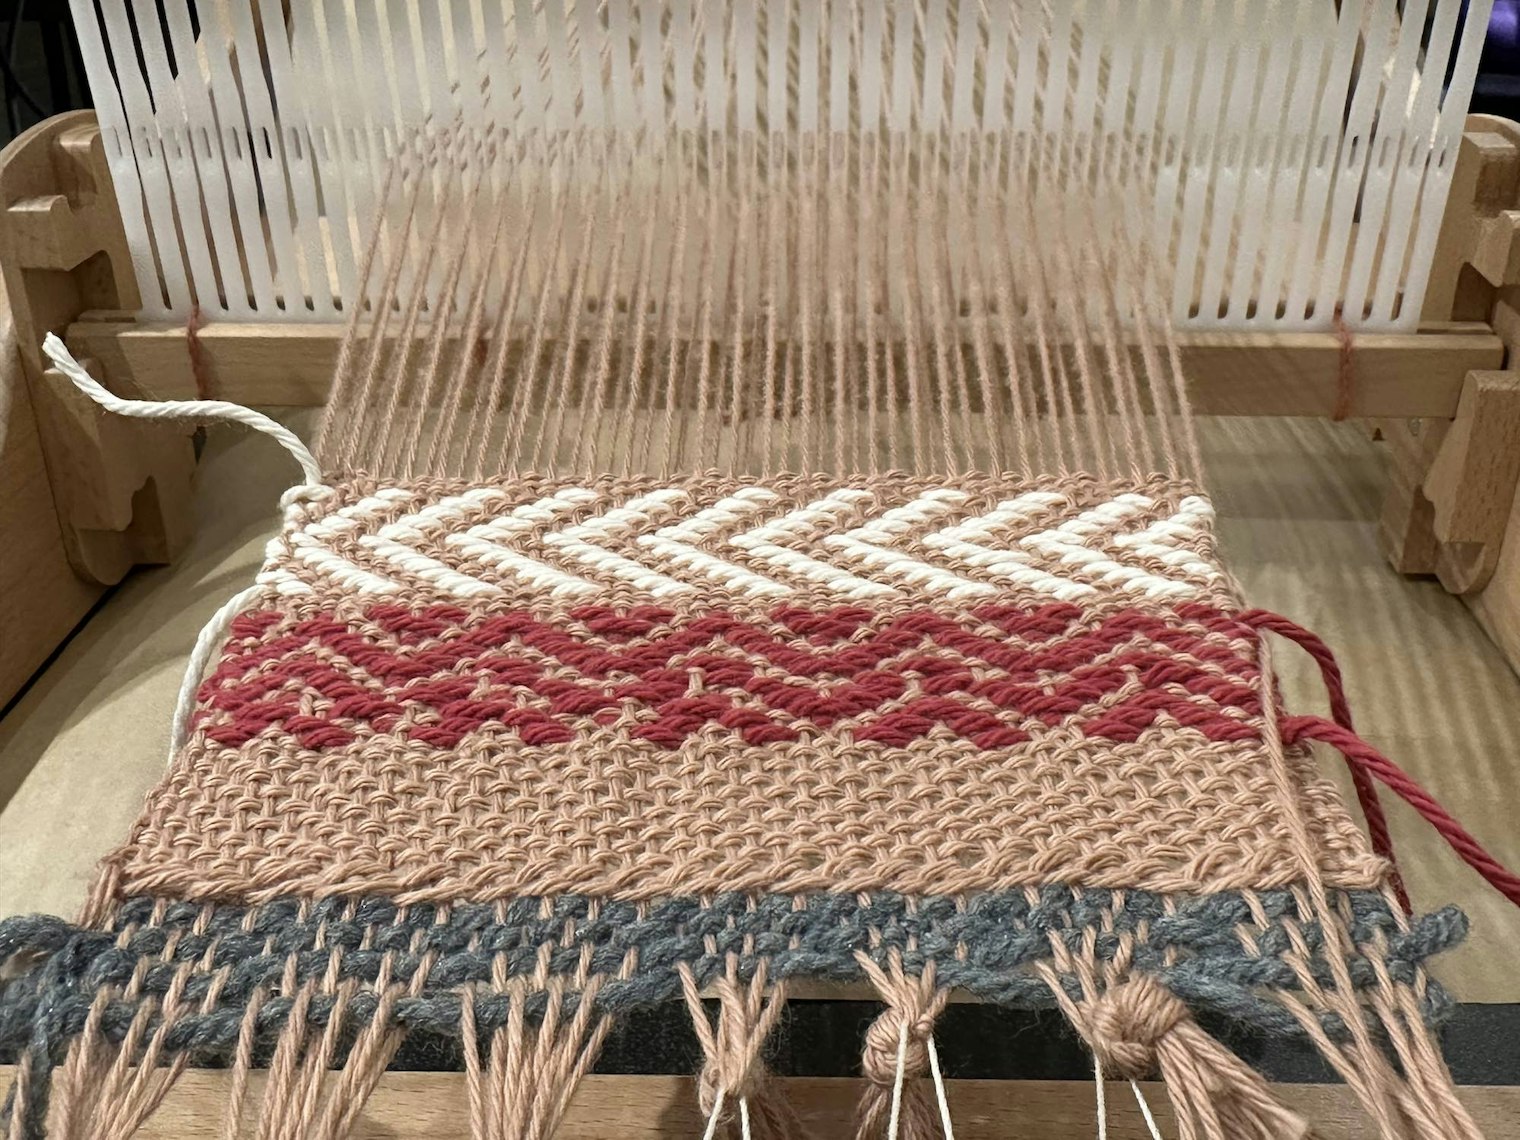
I first wrote this article back in 2014, two years before the first issue of Easy Weaving with Little Looms. Since then my love of the rigid-heddle loom has only grown, so I figured it was time for an update!—Christina
I'm writing this post now from my new, box-filled home office which is just down the hall from my equally new, and equally box-filled, weaving studio. Fortunately for me, even though I cannot find my collection of bobbins, much less the bobbin winder, I can still weave. Even though I have guests arriving next week for Thanksgiving and I have to unpack several other rooms before I can even think about unpacking my studio, I can still weave.
While much of my weaving supplies are currently located in around 900 boxes all labeled simply with "weaving," my rigid-heddle loom and associated supplies were in a box labeled "rigid-heddle loom and supplies." Huzzah! Even better, though I do not know where my yarn stash is (probably in a box labeled "weaving") I can go to any yarn shop in town and pick up a suitable yarn this weekend. Thanks to my handy-dandy warping peg I can then be ready to weave in around 20 minutes. How great is that?
In honor of my lovely little rigid-heddle loom I have composed this list of the top ten reasons I love rigid-heddle looms.
 Christina's rigid-heddle loom is small enough to fit on the dining room table and light enough for her to move around the house or even outside. Photo by Christina Garton
They are usually small enough where you can take them just about anywhere. They fit easily into the car, you can carry them on an air plane, and they are easy to just plain carry for that matter. If you don't have a lot of room in your home this also means they are easy to store; I used to hang mine up on the wall when I wasn't using it.
Rigid-heddle looms play nice with a wide variety of yarns, including yarns thought of as knitting or even novelty yarns. This means you can get yarns perfect for rigid-heddle weaving at any local yarn shop, big box craft stores, and even (often) thrift stores!
If you use the direct warping method you don't have to spend an hour or more winding your warp and threading the heddles before you can weave; instead you just pull the yarn through the slots and around the warping peg and you can be up and weaving in no time.
Another benefit of direct warping is that it offers the perfect opportunity to design your warp at the loom in real time. You can try out different colors and textures and see how they'll look in the warp right away and make changes easily as you go.
While rigid-heddle looms are perfect for plain weave, you can also use two heddles, heddle rods, and/or pick-up sticks to create multi-shaft patterns on your rigid-heddle loom. Twill, overshot, krockbragd, waffle weave, and even deflected doubleweave can be woven on the rigid-heddle loom!
 Believe it of not, Elisabeth Hill wove her deflected doubleweave Taconic Tonic Scarf on a rigid-heddle loom. On a multi-shaft loom, it would take at least eight shafts to weave the same pattern! Find the pattern here. Photo by Caleb Young (Good Folk Photography)
Finger controlled weaves are so much easier on a rigid-heddle loom. The large weaving area makes weaving leno, danish medallions, clasped-weft and other techniques a cinch.
When you're tired of weaving in your box-filled house you can take your rigid-heddle loom out on the patio to weave in front of the fire pit, to a park and weave on a picnic table, or to a coffee shop and weave on a regular table.
There are so many cool accessories available for the rigid-heddle loom. Wavy beaters anad variable dent heddles are just a few of the tools that will open up new worlds of design in your rigid-heddle weaving.
 Variable-dent heddles, like the one shown here, let you use multiple setts throughout the width of your weaving. Photo by George Boe
Next-to-no loom waste means you can use all those luxury knitting yarns you thought were off limits to weavers. (Although I've found that if you can just figure out the right use for it, there's no yarn that is actually off limits to weavers.)
They're perfect for teaching friends and family of any age who want to learn how to weave. I know I can't wait for my neice to visit in December. I'll have the rigid-heddle loom warped up with her favorite color yarn so she can join me in the studio as we drink hot cider and weave up something fun.
Happy Weaving!
Christina
Originally published 11/1/2014; updated 7/10/2025
Hack Your Rigid-Heddle Weaving Studio
You may want to add these seven easy to find items to your weaving equipment stash.
A weaver's greatest resource is other weavers. Over the years, I have learned many tips from my fellow weavers that make my weaving more enjoyable and, in many cases, more successful. Here are some items you might not think of as weaving equipment that can help with rigid-heddle weaving. Some can be found at your local hardware, beauty, or discount store. Others are easy to find online.
Cell Phones
Cell phones are great for photographing inspirational patterns, textures, and color combinations, but they are also invaluable in the studio, and not just because they hold your playlist. Use your phone to record information about projects as you work:
- Take a photo of your warp.
- Place a ruler on your cloth and document your picks per inch.
- Any time you make a pattern change, snap a photo.
- Take a picture of how you start the project so you’ll know how to end it.
- Document your finished work with close-ups and glamour shots to share with friends.
 Trying to keep an accurate measurement of what you've woven can be fiddly. Try using alligator or quilting clips to make measuring more efficient. Photo credit: Patricia Serna on Unsplash
Clips
Attach twill tape or tape measures to your project with small clips such as quilting clips or alligator clips. They are easier to move than pins and hold the tape securely along the edge.
Quick Clamps
The warping pegs that come with rigid-heddle looms work well—unless the peg clamps don’t fit on your furniture, or you want to weave at your kid’s soccer game. Find a clamp that has a wide opening and a tall leg to use as a warping peg.
Paper Towel Tube
Protect your fabric as it makes its way around the cloth beam by using the cardboard tube inside a paper towel roll that has been cut lengthwise. Before the knots on the cloth beam come around and distort your fabric, snap the cut tube onto the beam. It easily stays in place and has the added bonus of being free.

Paper towel tubes are just the right size to protect fabric and keep knots from messing with your tension on the rigid-heddle loom.
Fusible Thread
You don’t need to zigzag or use seam sealant to hold your weft in place. I learned this tip from a weaver who submitted a towel project to Handwoven: Weave 2 picks using fusible threadbetween projects such as napkins or towels. Off the loom, fuse the thread to the weaving with a hot iron and then cut between the fusible thread picks to separate your projects. You can also use fusible thread for the first 2 picks and last 2 picks on projects that you plan on hemming.
Want more tips and tricks for hacking your rigid-heddle studio with inexpensive and easy-to-find items? Check out the full article in the 2019 Easy Weaving with Little Looms to learn 10 more tips and tricks designed to make weaving more efficient and more fun.
Weave well,
Susan
Stash-Busting with a Rigid Heddle
Is your yarn stash reaching a truly alarming size? Little looms like rigid heddles are perfect for stash-busting!
By Andrea Lotz
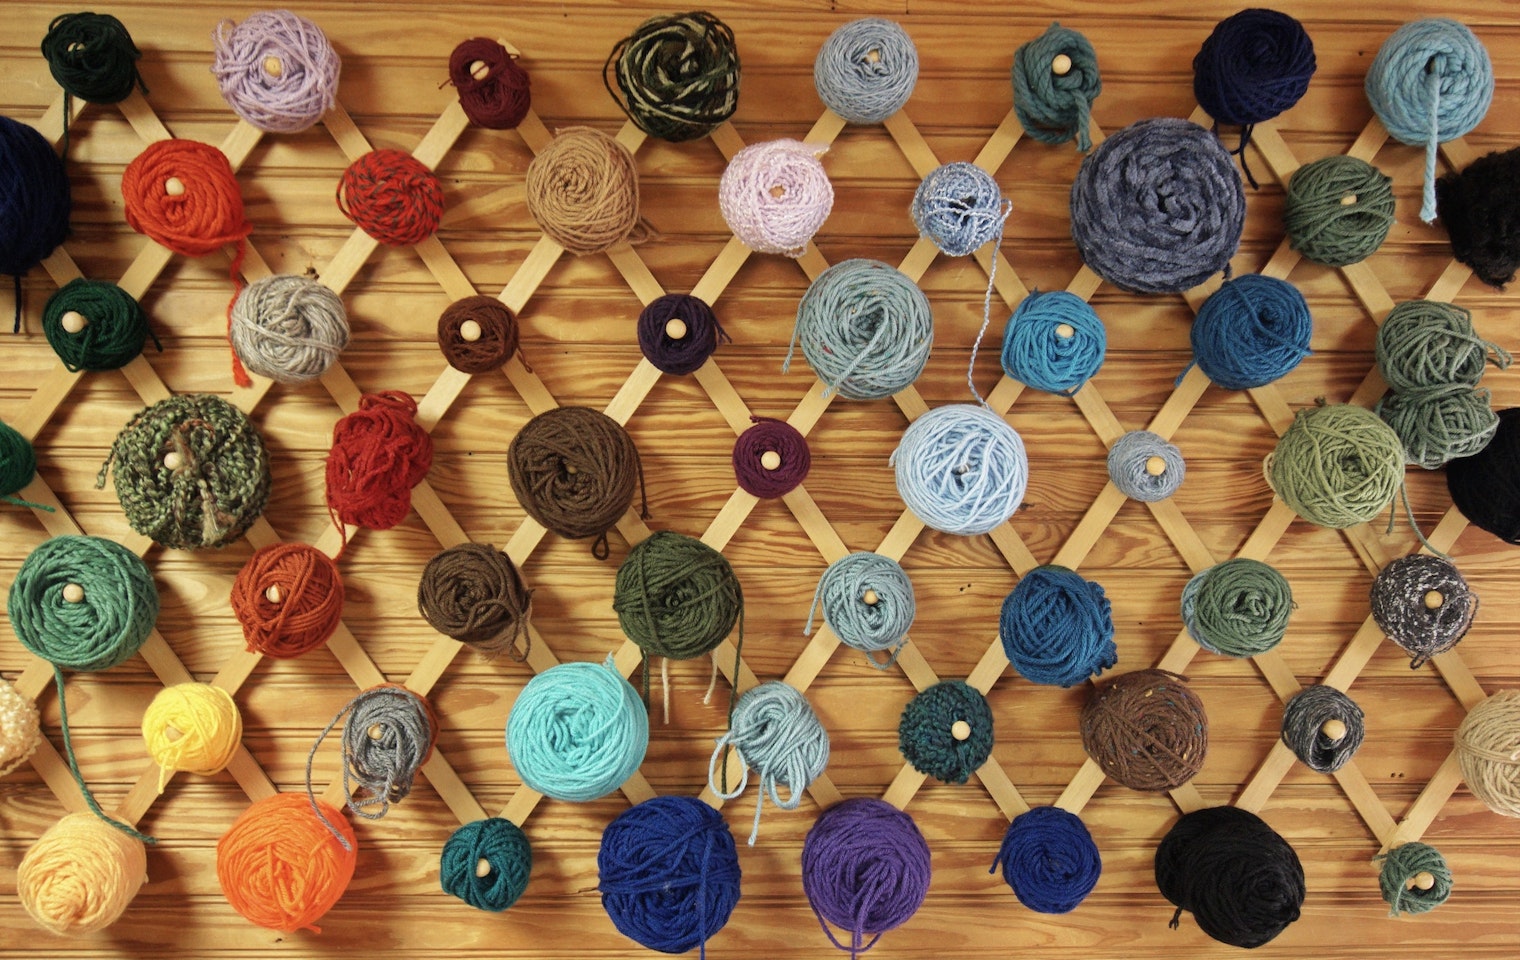
I have a startling confession to make: I am not a yarn-hoarder. But trust me, it’s not because I don’t love yarn. I’m just usually really good about only buying yarn for a specific project and then executing the project before the idea gets lost in time. I have a modest yarn stash, of course, with balls of yarn carefully labelled with their intended use so I don’t forget. And naturally I have ends of yarn from projects that didn’t quite need the whole skein. But my whole collection fits in a box that lives at the foot of my bed.
Maybe it’s because I’m only in my 20s—I simply haven’t had enough time or money in my life yet for my stash to reach epic proportions. But I prefer to think my modest stash is a conscious strategy to help me avoid the dreaded analysis paralysis of picking a project to match the yarn, rather than vice versa.
 Photo credit: George Boe
I recently found myself with two skeins of gorgeous 100% merino yarns in subtly different weights and shades of ethereal blue-green, gifted to me by a friend…and I didn’t have a plan for them! Cue six months of analysis paralysis. I assumed I’d knit with them, until I borrowed a rigid-heddle loom from work and set about trying to figure out what my first project with it would be.
I knew right away that I wanted to use those yarns in my warp, as the friend who gave them to me is one of my “fiber moms” who has encouraged and enabled my crafting habits for many years. I thought she’d be pretty excited to know I used her gift to learn a new skill – as long as I didn’t mess up! Plus the reduced loom waste from using a rigid heddle would allow me to stretch this special yarn as far as possible.
For the weft, my vision was less clear. I turned to my stash to see if I could possibly bust through some of those odds and ends from projects past. As I combed through the layers of my stash, I was surprised at how well my yarns coordinated with each other and with my warp yarns, but no real vision came together until I got to the very bottom of my box.
There I found two vest fronts I knit up from a fuzzy, multicolored statement yarn years ago, before the creative inspiration to do anything with them flickered and died. Best of all, there was a good-sized ball of that gorgeous statement yarn left curled up with them. And it coordinated with my other yarn scraps! Bingo. I would weave a back for my vest and put that project to bed once and for all.
I so much appreciate the rigid-heddle loom for helping me in my stash-busting endeavors. It’s such a major advantage of rigid heddles and other small looms like pin looms and tapestry looms, and I’m sure it will only become more valuable to me as my yarn stash grows. Little looms are prefect for beginners like me, who need a low-investment, low waste, quick to set up, and very fun way to learn new weaving techniques.
If you’re interested in weaving on small looms, whether you’re a beginner looking to hone your weaving skills or an experienced weaver looking to bust through a more intimidating yarn stash than mine, I encourage you to give them a try. Easy Weaving with Little Looms is a great go-to resource for learning all about different types of small looms, mastering new techniques, and finding inspiration. Plus there are plenty of projects in each issue to get you started!
I’m happy to say that I successfully finished my first rigid-heddle warp last night, and I can’t wait to start weaving my vest. It will be such a relief to have those odds and ends of yarn nicely “sewn up” (pardon the pun). Keep checking back to see how I do on my very first rigid-heddle project—and wish me luck!
-Andrea