
Loading the latest stories…

Learn how to build a travel-sized tapestry loom using items you probably already own.
Christina Garton5 min read
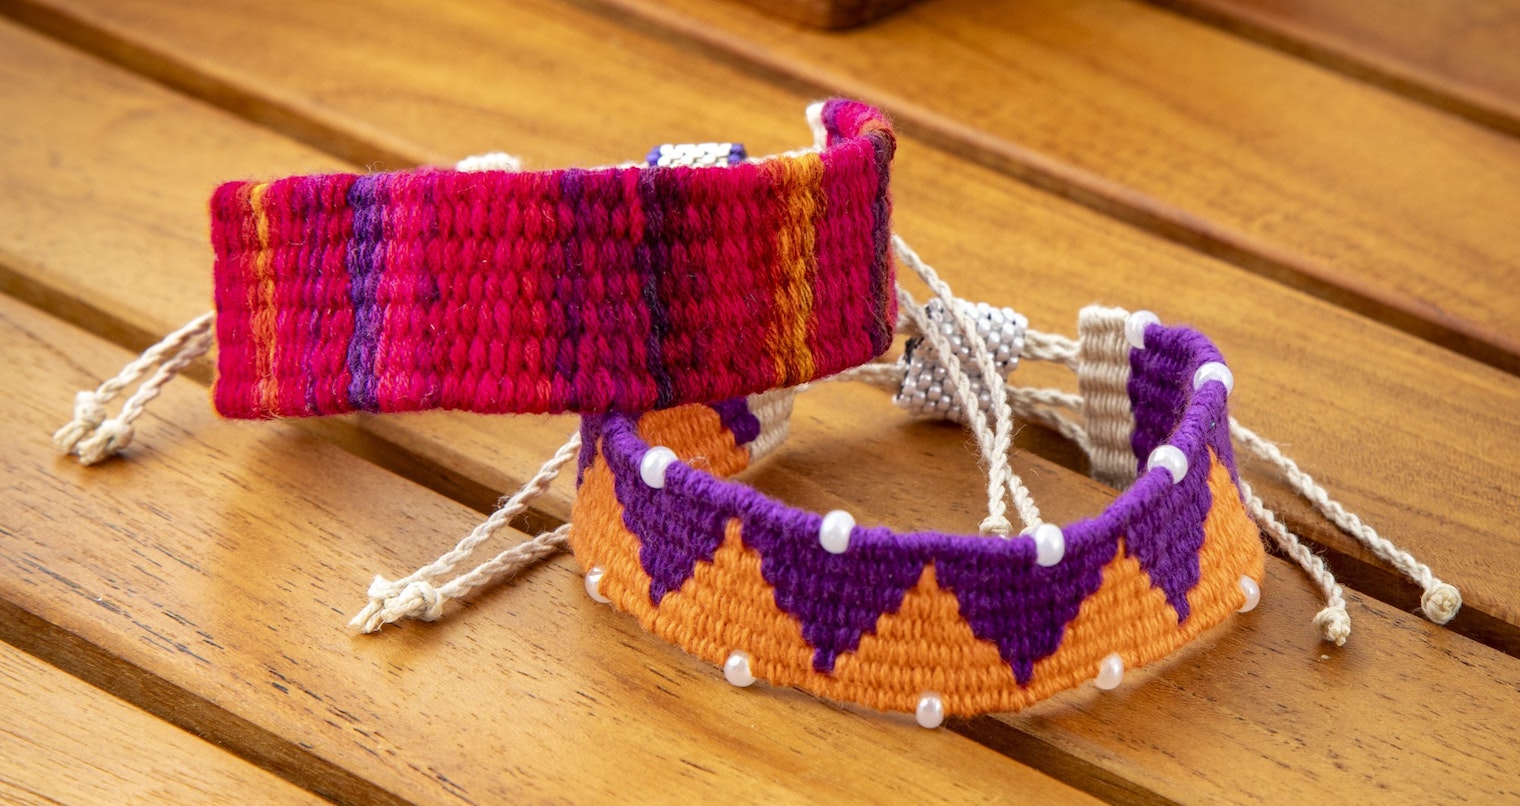
Before heading out on a month-long trip to visit family, Alison Irwin had the idea to try to build a small loom that could fit in a carry-on bag. She packed a picture frame, some thread, and a small bag of thrums before heading out to see her grandchildren. Using her frame and thread, as well as some items from her grandkids’ craft supplies, she built a small, Salish-style tapestry loom. In her article "Building a Loom from Memory,” Alison details how she built her loom and wove her first project on it.
Not only is Alison’s loom completely functional, it’s a perfect travel loom. It can be made as small as you’d like, so you can build it to fit in a standard carry-on bag or even a purse. The supplies used to build the loom are easy to find and fairly inexpensive, so if the loom gets lost during your travels, it won’t be as devasting—and if it breaks, you can easily fix it or build a new one. (For that same reason, this loom is also great for weaving with small children who don’t know their own strength.)
Interested in building your own travel tapestry loom? Keep reading for all the details on how to build and warp your own loom using Alison’s method.
 Alison’s travel loom and the first project she wove on it. Photos by Alison Irwin except where noted
 Firmly tie down only one end of the pencil or dowel rod.
 Tie a large knot under the other side of the pencil or dowel to anchor it in place while also leaving it open.
To begin weaving, start with a few picks of your warp thread. Alison finds it helpful to separate her warp layers by slipping a piece of paper or cardstock between the front/active and back/inactive warps. (Tip: If you use a color of paper or cardstock that contrasts with your warp, it can make it easier to see each warp end.)
Have fun weaving on your new loom! The small size makes it perfect for using up thrums and other small bits of yarn. Use it to try out different tapestry techniques and color combinations. Try adding beads or other embellishments to the warp or weft. Finish each piece with a few picks of the warp thread as you did at the start.
When you’re done, remove the fabric by first slipping the warp loops off the rod. Using a tapestry or sewing needle, sew any weft ends back into the cloth and trim. Cut the warp loops and remove the seed beads from one side of the fabric. Secure the weft however you’d like—sew in the fringe ends, knot the fringe, twist the fringe, etc.—and then repeat on the other end of the fabric.
To find more ideas on how you can modify your new picture-frame loom as well as two bracelet projects, check out the Winter 2025 issue of Easy Weaving with Little Looms. In her article starting on page 26, you’ll learn the changes Alison made on her second picture-frame loom as well as how she chose and used her weft yarns.
After you’ve read her article, make sure to check out her Traveling Tapestry Cuffs project and learn how to weave two gorgeous bracelets on your brand-new loom.
Happy Weaving!
Christina
More from Little Looms
From the Library






Comments
No comments yet — be the first to share your thoughts.
Sign in to join the conversation — commenting is for signed-in members.