
Loading the latest stories…

Discover how easy clasped-warp weaving is on the rigid-heddle loom. As Robin shows, all you need is a warping peg, two warp yarns, and some creativity to design with the clasped-warp technique.
Robin Lynde7 min read
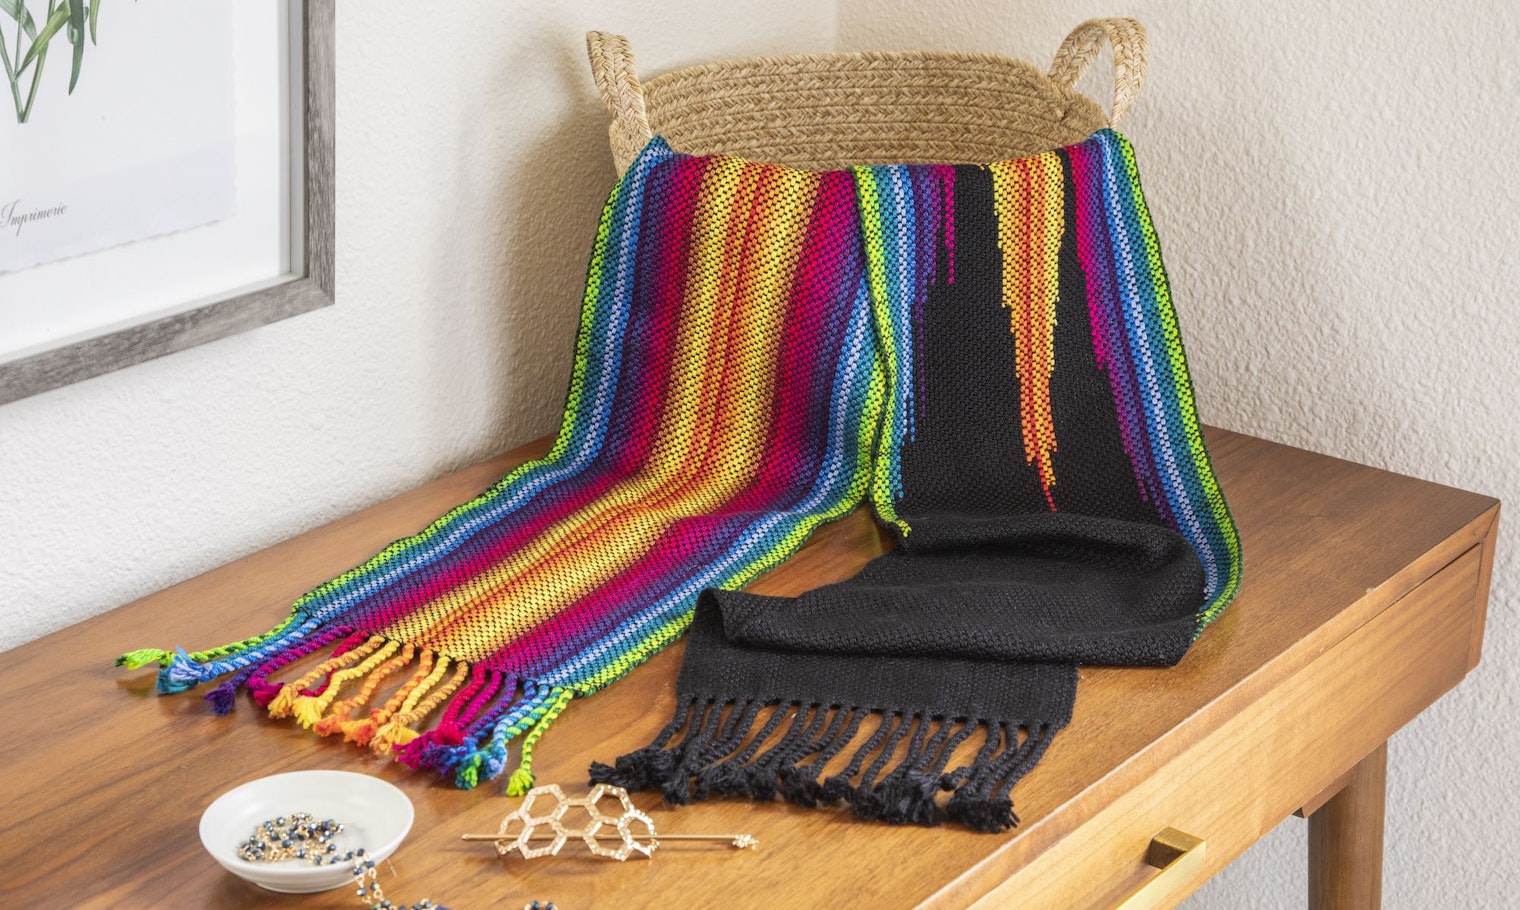
Clasped warp is a clever technique that enables a weaver to begin a warp end with one color and finish with another, placing the join anywhere along the length of the warp. The weaver chooses the location of the color changes, placing them in either a planned or freeform manner as the warp is measured. Even better, direct warping of a rigid-heddle loom lends itself beautifully to this idea; clasped warp is a technique that’s much easier to do on a rigid-heddle loom than on a multi-shaft loom. 
In this example of clasped warping, the purple yarn (Yarn A) is attached to the back apron rod and the gray yarn (Yarn B) is attached to the peg with the yarn cone between the two ends.
When direct warping a rigid-heddle loom in the traditional manner, the yarn source—a cone or ball, designated Yarn A—stays at the back of the loom. Each strand of yarn is pulled through the heddle in a loop that goes around a warping peg placed the desired distance away from the loom. Clasped warp, on the other hand, uses two yarn sources at once. The second yarn, Yarn B, is placed in the space between the warping peg and the heddle. Whereas with regular direct warping, the loops are usually pulled only through the slots, with clasped warp, the loops are pulled through both slots and holes, ending with doubled strands through each.
To create a warp clasp:
That’s it! Repeat for the next space in the heddle, either slot or hole.
Continue in this manner until enough warp threads are wound for the project. Tie the last strand of Yarn A to the apron rod and Yarn B to the warping peg. Wind the warp onto the back beam as usual. Weave and finish the project just as with a normal warp.

This scarf features multiple colors of warp placed in what appears to be a random fashion but was really the result of careful planning.
When designing with clasped warp, think about your overall vision for a piece and how you can interpret that in the actual weaving. This plan can be in your head or drawn on paper. If you prefer a random look, simply start threading and clasping in a way that looks appealing in the moment. For a more formal warp plan, make a sketch and transfer it to graph paper scaled to relate to the warp. For example, graph paper with 10 squares per inch works well for a project that uses a 5-dent heddle (5 dents per inch). If you assign 1 square inch of scarf to each square of graph paper, most rigid-heddle scarf warps will be 8" to 10" long by ¾" to 1" wide on paper.
Once the desired size of the scarf is outlined on the graph paper, begin by adding fringe allowance and marking the approximate locations of the color changes in the squares. Drawing your design on graph paper will let you keep track of the location of the joins while threading and clasping the warp. Determine whether you want your joins to be in the center or close to the ends and whether you want a symmetrical or asymmetrical design. Remember to leave space without joins near the ends if you want fringe and for ease in spreading your warp.
As you design, think about weft choices. Choosing weft is an important part of all weaving, but with clasped warp, there are more considerations than simply what color looks nice. Clasped warps are doubled while weft yarns are typically one strand. If the warp yarn is also used as weft, then the piece will have a warp dominance. To create a balanced fabric, use a thicker weft or simply double the weft. If you combine clasped weft with clasped warp, you can create areas of solid color in your piece as seen in the scarf below.

The clasped-warp technique used together with clasped weft lets the weaver create multiple solid areas of color within one scarf.
With the clasped-warp technique, the ideas and possibilities for design are infinite. You can use clasped warp to make blocks of color, diagonal lines, or zigzags—or a combination of the three. It can create the illusion of a painted warp with no messy dyes or chemicals.
While it’s easiest to learn the technique by using two colors as described above, after you master the two-color method, it’s possible to add multiple colors: Assign one as Color A and bring the rest (Colors B, C, and so on) in from the warp peg end, as in the Green Pastures Scarf shown below. This is a great way to use up odds and ends of yarn. Use a solid color (the color you have the most of in your stash) at one end and a myriad of colors at the other.

Robin's Green Pastures Scarf from the Summer 2020 issue. Photo by George Boe
You can create another interesting clasped-warp design by alternating solid and clasped ends. Warp all the slots first with Color A, taking that yarn all the way to the peg. Use the ends pulled through the holes for the clasped warp, making the joins in random or planned positions.
For a more challenging technique, alternate ends when clasping. Thread and clasp Colors A and B through all the slots and tie off. Switch the positions of Colors A and B (or bring in Color C), and thread them through the holes. One pattern I like is shown in the scarf below. I created a diagonal by threading Colors A and B in the slots. I tied the yarns off and switched their positions, creating another diagonal with the colors coming from the opposite ends.

For this scarf, Robin alternated between two colors in the slots. She tied the yarns off and swapped their positions—and one of the yarn colors—to create another diagonal with the colors coming from the opposite ends.
A fun design that requires a bit more planning is one in which the colors come from opposite ends but not in the easy-to-remember “all slots” or “all holes” fashion. For this style, start with graph paper and sketch a plan for the overall position of colors and joins and plans for each end and the specific location of each color. In scarf shown below, there are three threading variables: white and rust, white and green, and all white. I followed a plan on graph paper and first threaded the all-white yarns through the indicated slots and holes. Then I threaded the white and rust yarns, clasping them, and tied them off. Finally, I moved the white yarn to the other end of the warp and threaded and clasped the white and green warp yarns.

In this scarf, there are three threading variables, and Robin followed a plan on graph paper. Note that combining a fresh-from-the-mill yarn with a washed and skeined yarn created the dimples and puckers in this particular scarf.
Clasped warp is not just for scarves—use it for runners and kitchen linens or to weave yardage for pillows and clothing. Master this simple technique that has a lot of design potential for all rigid-heddle weaving!
More from Little Looms
 Clasped Warp and LaceDid you know that you can use the clasped-warp technique with more than just plain weave? Christina Garton · January 23, 2025
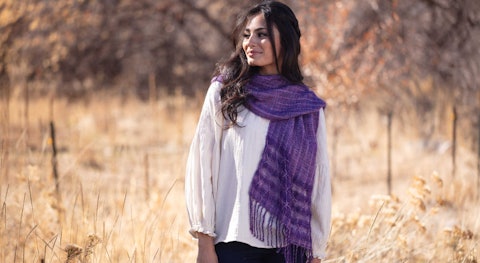 Weave Your Way through Easy Weaving with Little LoomsOne of my goals when creating each issue of Easy Weaving with Little Looms is that the projects are diverse enough that folks can build their skills by weaving through them. The 2020 issue is no exception.Christina Garton · April 10, 2020
 What's Making Us Happy: Little Looms 2020 I’d like to show all 23 projects and give you brief descriptions of each article, but instead I asked some of the Handwoven and Long Thread Media crew what made them excited about the 2020 Little Looms. Christina Garton · April 3, 2020
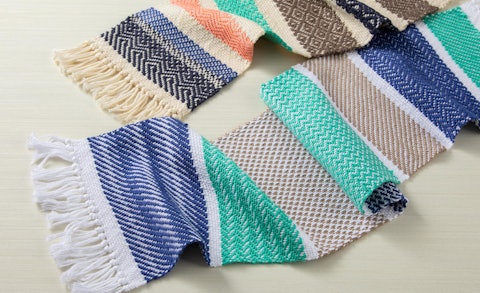 Twill for the Rigid-Heddle Loom: It’s Easier Than You Think!Learn why weavers love twill—and what makes it a great weave for the rigid-heddle loom.Christina Garton · July 14, 2026
 A Celebration of Stripes: Call for Submissions Fall 2027We're looking for striped projects of all kinds for our Fall 2027 issue—and that includes plaids and checks, too!Christina Garton · July 9, 2026
 Make Your Own Cardboard Mini-ShuttlesButterflies are beautiful, but they’re not always the best choice when you’re weaving. Try winding small bits of weft on these simple, DIY cardboard shuttles instead!Christina Garton · July 7, 2026
 Designing Borders for Pick-Up BandsLearn tips and tricks for designing borders for your pick-up bands, from simple stripes to more complex color-and-weave designs. Christina Garton · July 2, 2026
 A Trio of Table ToppersGo beyond rectangular runners with table toppers. Christina Garton · June 30, 2026
 Crochet for Your Selvedges? Your Edges Will Thank YouFind out why Sara Bixler finishes some of her woven pieces with crochet. Watch her free video clip, and then dive into several stitch options to try on your next project. Little Looms Editors · June 25, 2026
 Compose a Masterpiece on Your LoomAfter all, a loom is just another type of stringed instrument. Christina Garton · June 23, 2026
From the Library


Comments
No comments yet — be the first to share your thoughts.
Sign in to join the conversation — commenting is for signed-in members.