
Loading the latest stories…

You can create pin-loom flowers for any season with a few squares.
Susan E. Horton3 min read
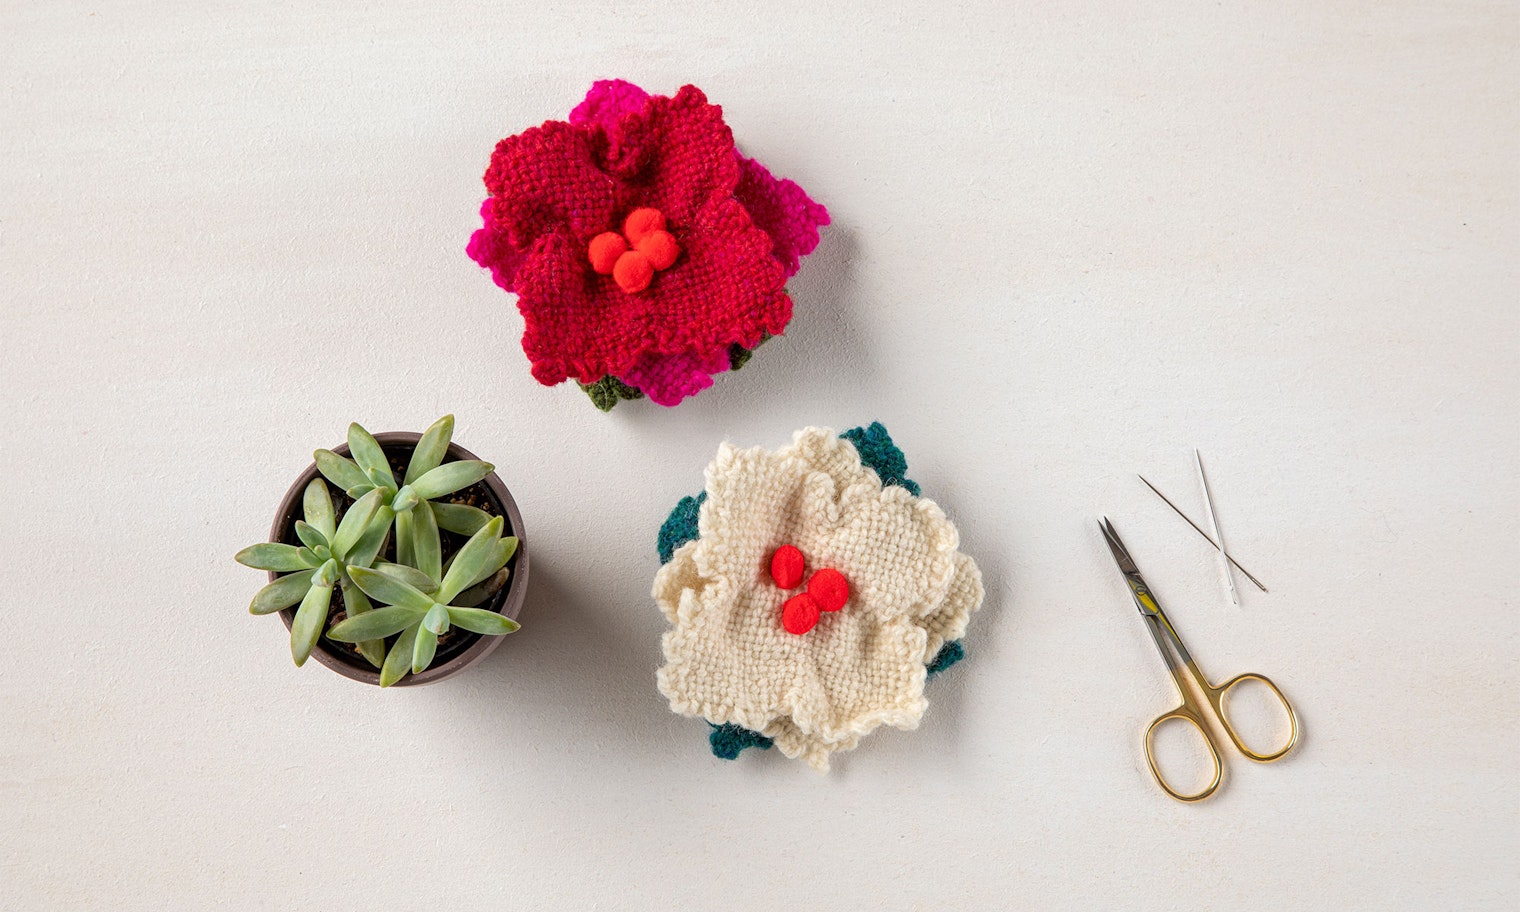
If you are looking for a simple way to make ornaments or decorations for your home, try these flowers from Little Looms Holiday 2020. You can weave a few squares at a time, and when you have a stack, put the flowers together production style. I’ve made a bunch of them this way. Clipped on a tree branch, they sit up like a magnolia or pointsettia. I think a group of them would even make a pretty wreath. Although these are in holiday colors, they could be just as fun in colors that evoke other seasons. Enjoy! -Susan
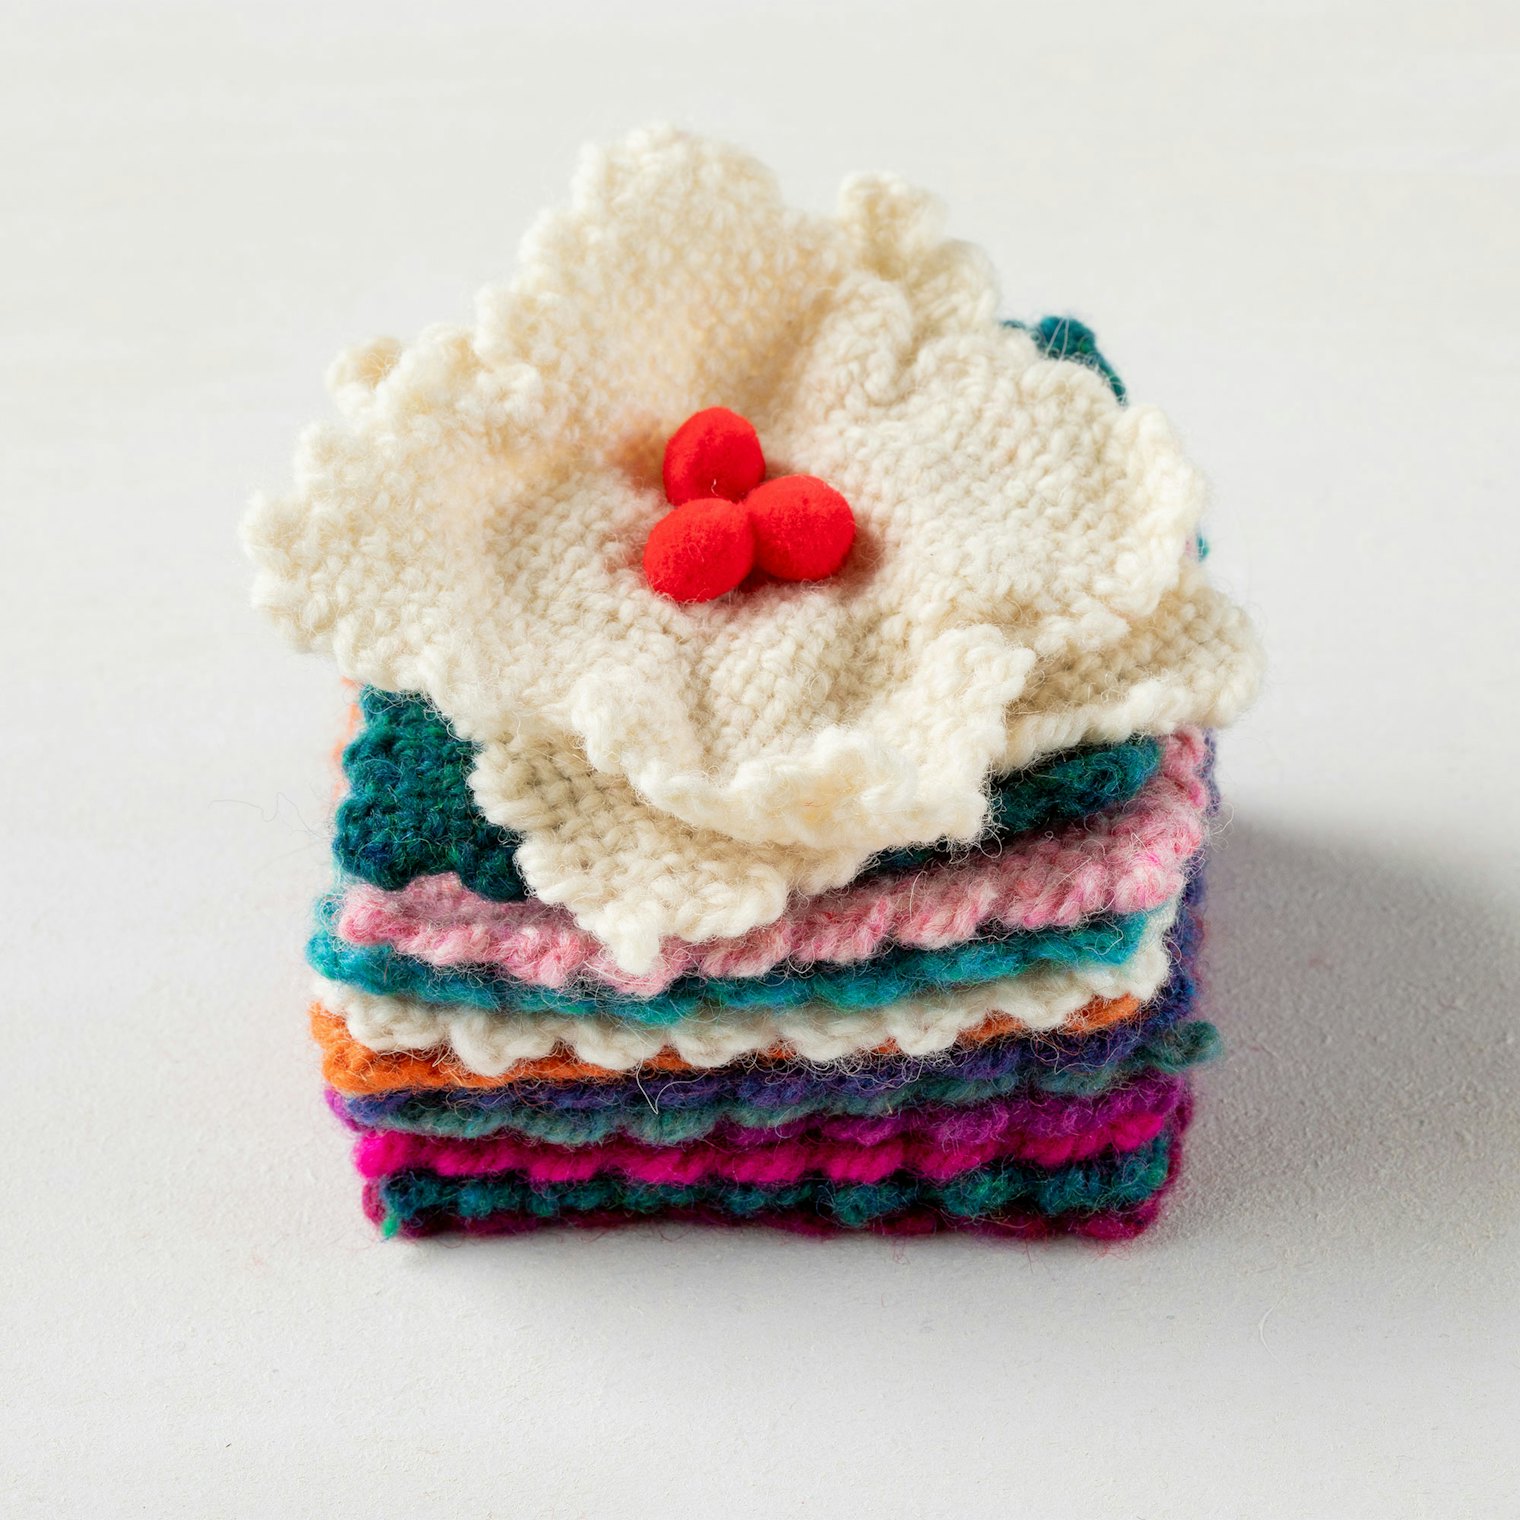
A quick and easy pattern in Little Looms 2016 for a pin-loom flower fascinator inspired these flower ornaments. The clothespin fastener allows you to use and reuse the flowers as decorations for the table, packages, or a holiday tree. Make a few of them, mixing and matching yarns and colors to your heart’s desire. A printable version of this pattern is also available for free in the Little Looms library.
Type of Project: Pin Loom.
Structure: Plain weave.
Equipment: 4" x 4" square pin loom; 6" weaving needle; packing comb or fork; tapestry needle.
Yarns: Warp and Weft: 2-ply wool (Highland; 200 yd/3.5 oz; 900 yd/lb; Harrisville Designs), 1 or 2 colors for the flowers and 1 green-leaf color, 9 yd each color. Note: Any worsted-weight yarn will work for this project. Wool yarns that full slightly during wet-finishing will give your flowers a bit more shape.
Other Supplies: Clothespin; hot glue gun with glue stick; 3 or 4 small pom-poms; paint for clothespin (optional).
Dimensions: Woven sizes: Three 4" x 4" squares on loom. Finished size: (after wet-finishing and assembly) 3½" x 3½".
1.) Following the manufacturer’s directions, weave three squares, two in the colors of your choice for the flower petals and one in green for the leaves. Weave in tails before removing the squares from the loom.
2.) Wet-finish in warm water with agitation to full the wool slightly.
3.) Fold one flower square in half twice to form a small square. Find the corner that would be the center of the unfolded square and slip the tapestry needle under the two crossed threads at the tip of that corner. These should be the warp and weft threads crossing at the center of the full-size square. Gently but firmly pull these threads out, gathering the sides of the square to create a flower shape. Make sure the threads are pulled tightly and evenly, and adjust as needed. Tie the pulled threads into a square knot at the back of the flower and fluff the petals as needed. This square will be the top part of the flower.
4.) Repeat step 2 for the second flower square and the green leaf square, but don’t pull the threads as tightly. These will be the bottom part of the flower and the leaves.
5.) Place one flower on top of the other so both right sides are facing the same direction. Arrange the flowers so the bottom flower’s petals peek out in the spaces between the top flower’s petals. Use matching thread to sew the two flowers together through the middle.
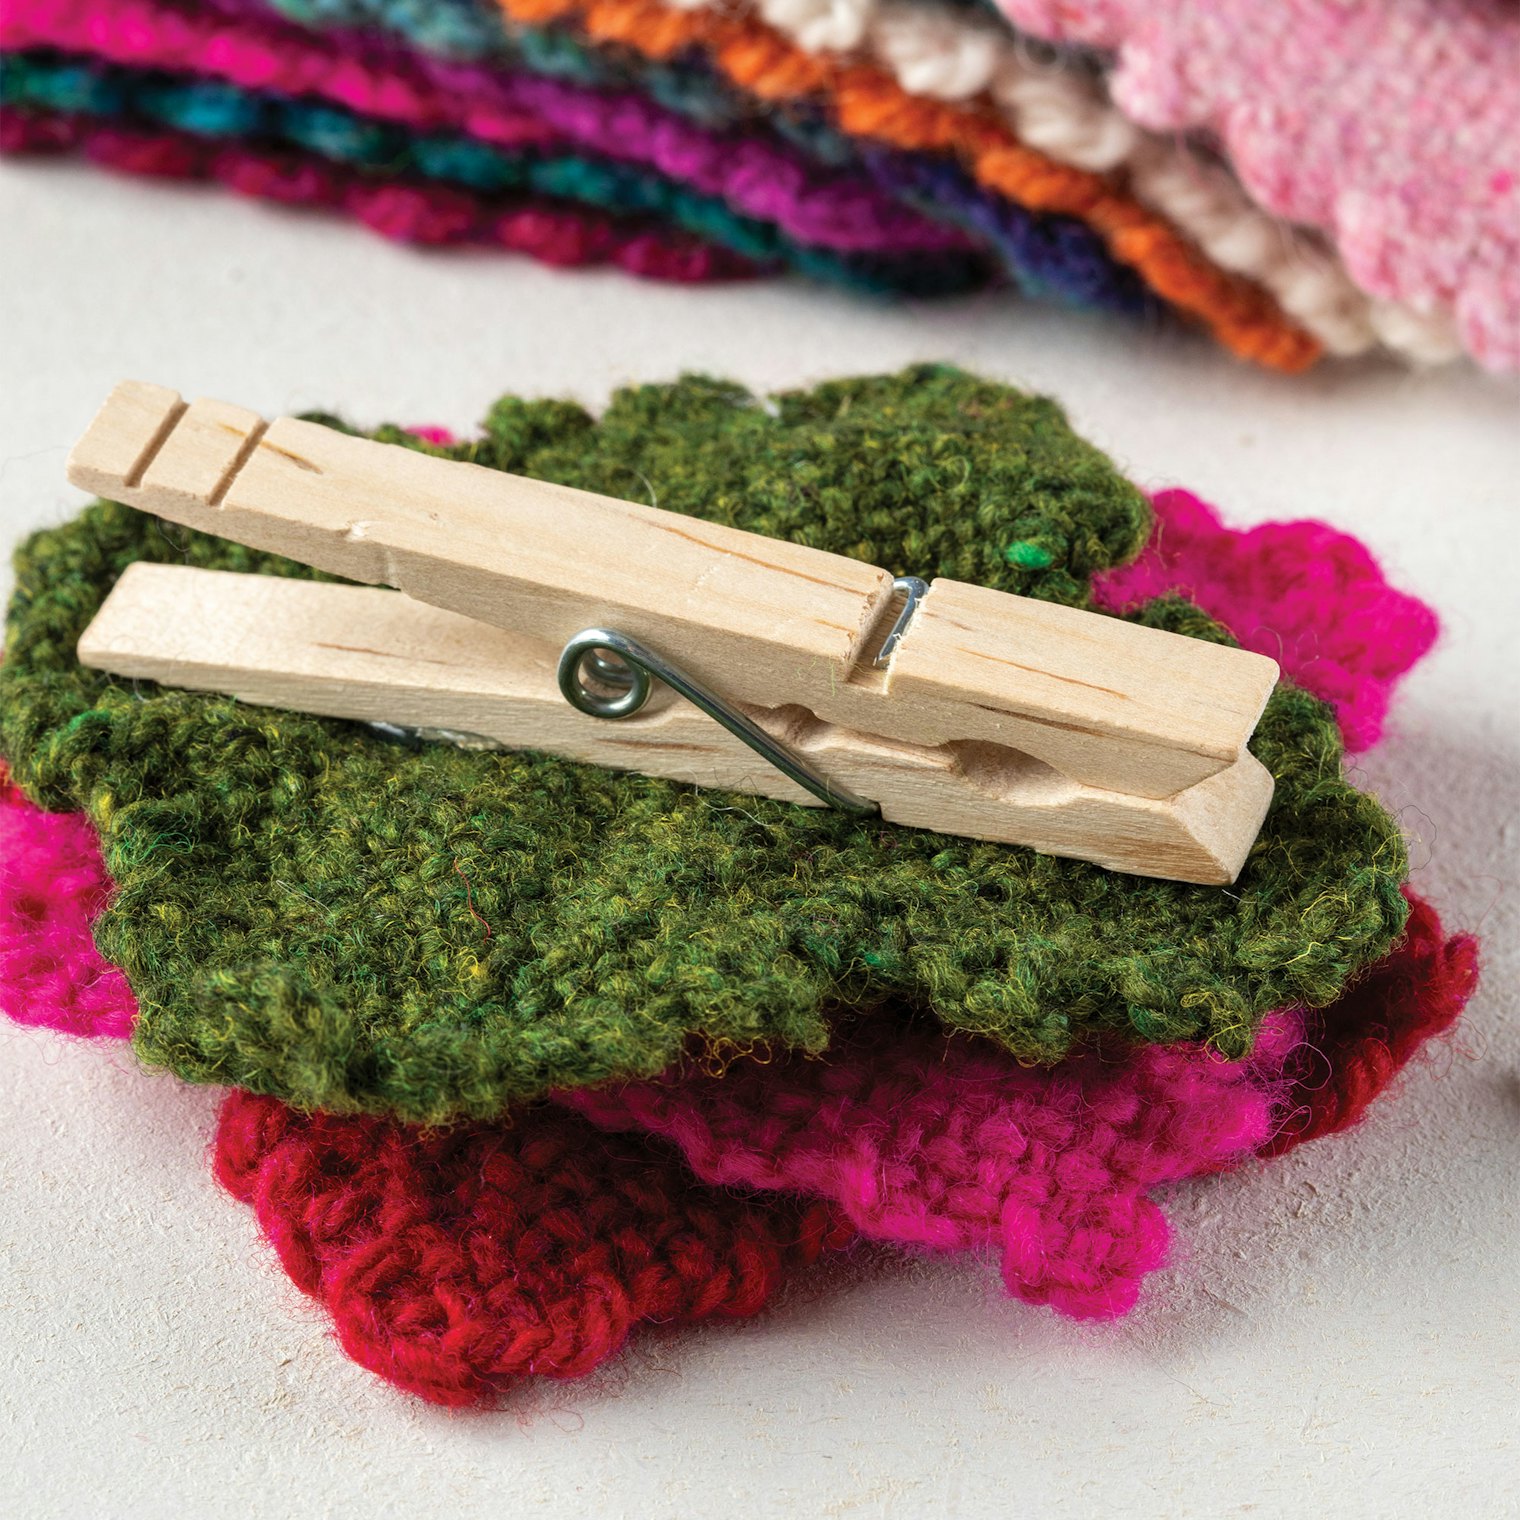
6.) Place the leaves underneath the two flowers so the points are peeking out between the bottom flower’s petals. Sew through all three levels to attach the leaves to the flowers.
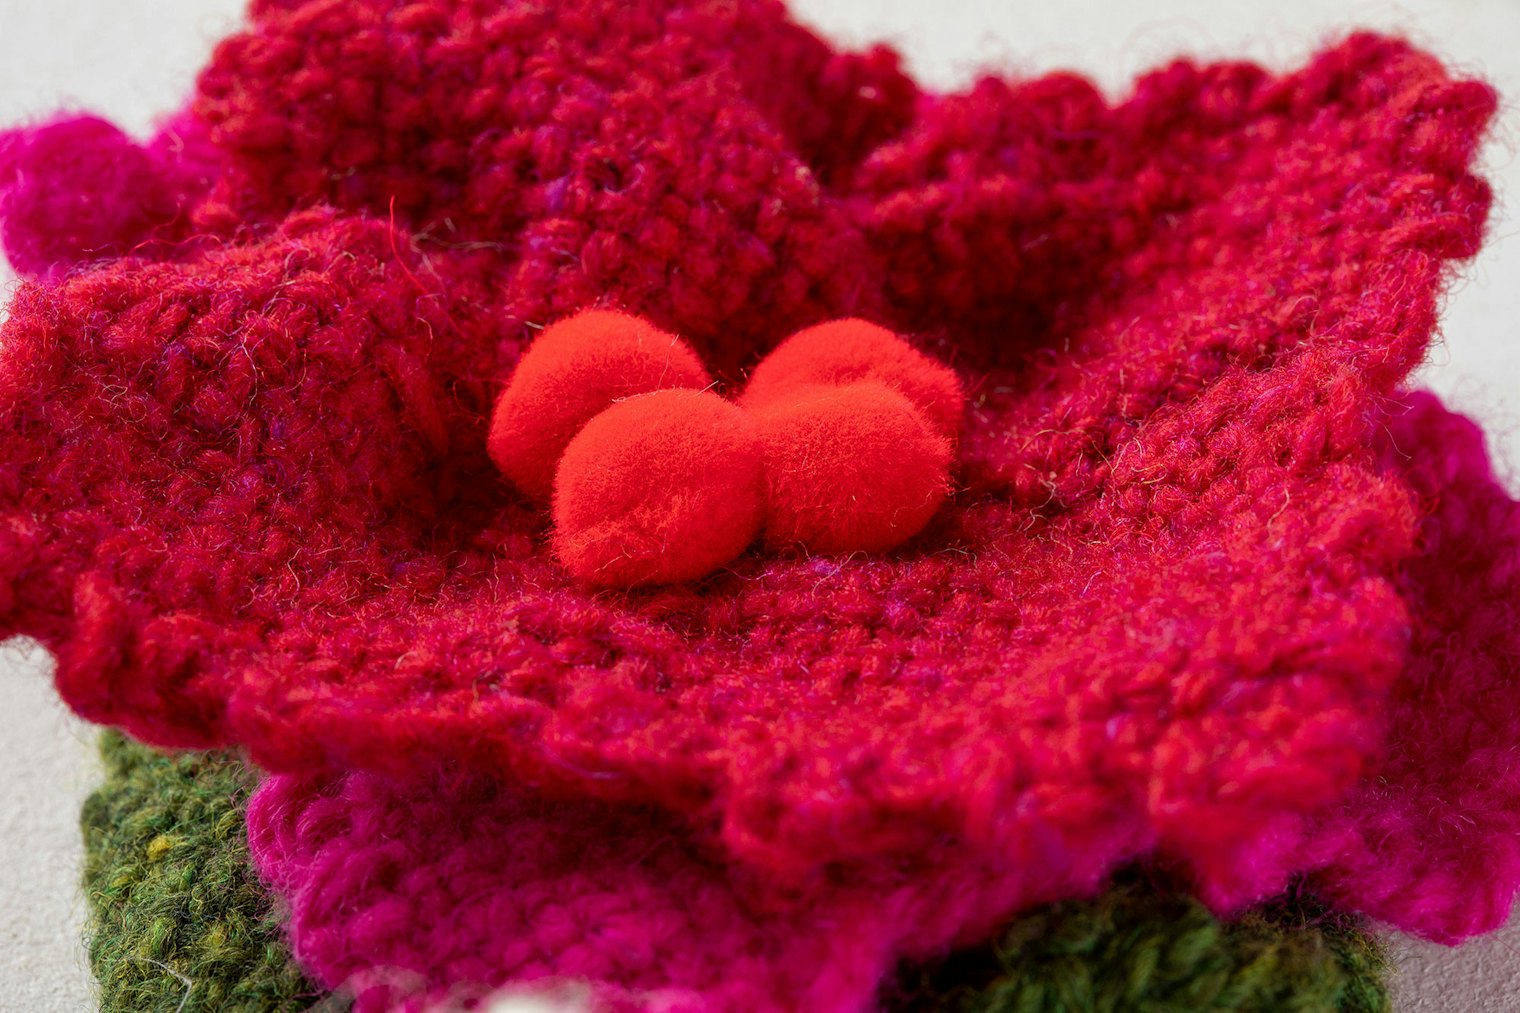
7.) Sew 3 or 4 pom-poms in the middle of the top flower, hiding your stitches.
8.) Hot glue the assembled flower with leaves to the top of a clothespin. (If desired, paint the clothespin before gluing.)
Garton, Christina. “Flower Fascinator.” Easy Weaving with Little Looms, 2016.
Originally published 6/30/2022; updated 3/19/2024; updated 12/10/2024
More from Little Looms
 Tutorial: Continuous-Strand WeavingLearn the basics of using the continuous strand–weaving method on a pin loom.Jennifer Chapman · July 30, 2026
 Twill for the Rigid-Heddle Loom: It’s Easier Than You Think!Learn why weavers love twill—and what makes it a great weave for the rigid-heddle loom.Christina Garton · July 14, 2026
 Dealing with Selvedges that Go BumpLace weaves are notorious for creating uneven, scalloped, and overall lumpy-bumpy selvedges. Learn two different methods for handling these selvedges in the first installment of our Summer Selvedge Series. Christina Garton · June 4, 2026
 My New Obsession: Three-Color Pick-up on the Inke LoomFind out how this niche Lithuanian technique found its way to America, and why it’s Christina’s new favorite way to create patterns on her inkle loom.Christina Garton · May 5, 2026
 Long Thread Podcast: Angela Tong, Multidisciplinary MakerSeason 14, Episode 7: A jeweler, knitter, crocheter, weaver, and potter sit down for a chat—and it turns out she's the same person. Angela Tong talks about a creative life built on detail, technique, and staying true to her own voice.Anne Merrow · May 2, 2026
 Get Started: Read a Basic Rigid-Heddle PatternHere's what you'll see in a rigid-heddle pattern in Little Looms—and how to translate that information to the loom!Christina Garton · April 23, 2026
 Up Your Design Game with the Fibonacci SequenceLearn how easy it is to design beautiful, asymmetric patterns using a simple bit of math. Christine Jablonski · April 21, 2026
 Perfectly Portable Looms for Weaving on the GoInterested in weaving on small looms? Learn how easy it is to build your own tiny weaving studio and sampler looms using simple household items. Elizabeth Jensen · March 26, 2026
 Join the Band: A New Retreat Just for BandweaversJoin us this fall for four days of bandweaving fun at Band Camp for Weavers!Christina Garton · March 24, 2026
 Long Thread Podcast: Heather Torgenrud, Pick-Up BandweavingSeason 14, Episode 4: Although her weaving interests vary from Anne Merrow · March 21, 2026
From the Library


Comments
No comments yet — be the first to share your thoughts.
Sign in to join the conversation — commenting is for signed-in members.