
Loading the latest stories…
SUBTOC
Learn five best practices for making top-notch trims using knitting and crochet, then get step-by-step instructions for using them in your own projects.
Christina Garton6 min read
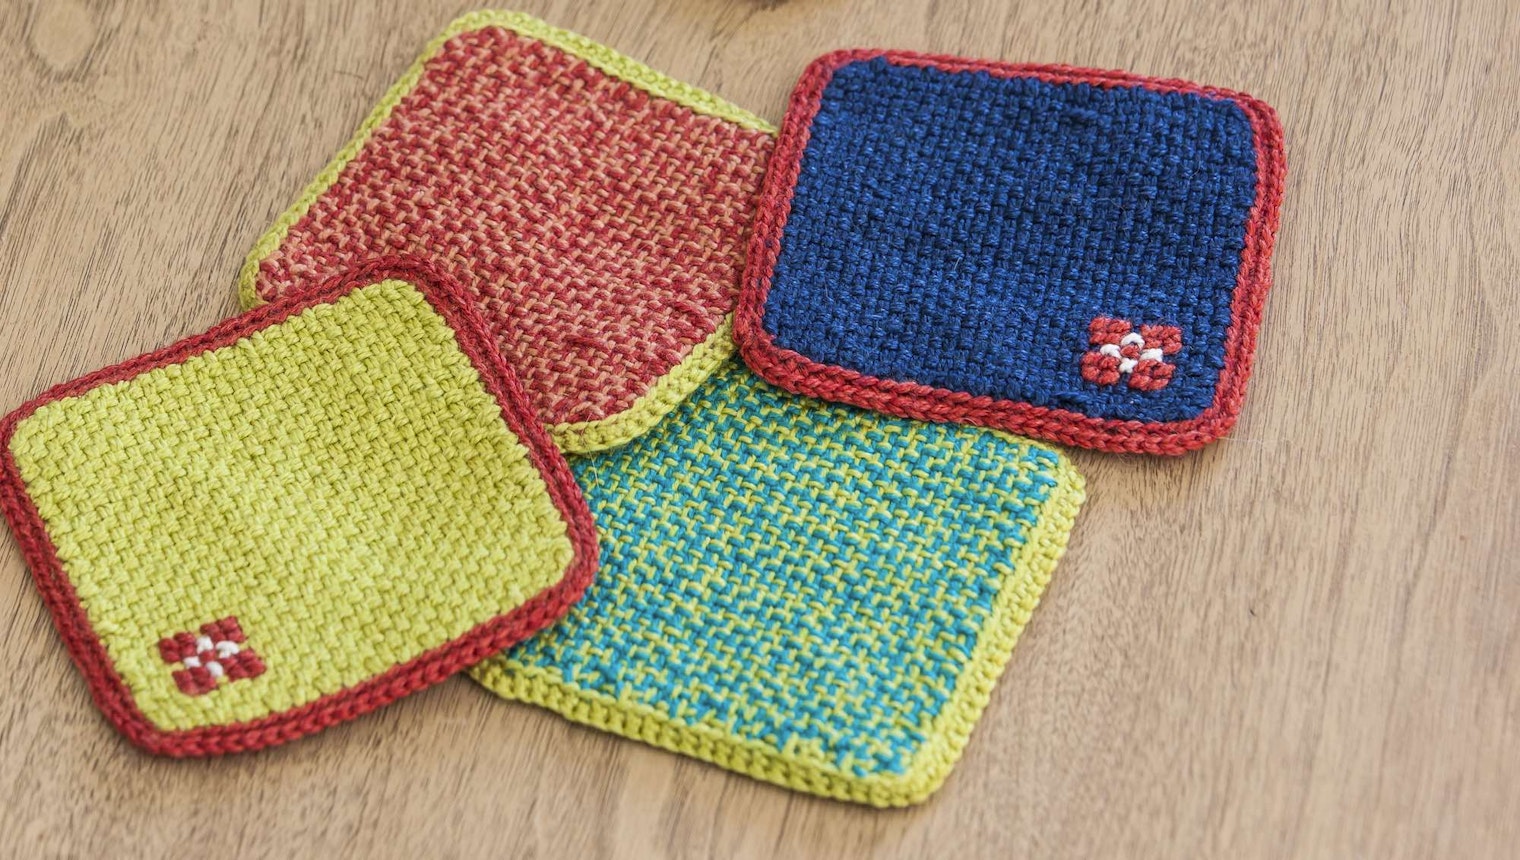
Adding knitted or crocheted trims can help elevate already beautiful projects or turn ones that are relatively simple into something stunning. You can use them to secure raw edges in lieu of fringe or braids, to make buttonholes, and to cover up wonky selvedges, or to simply add an extra element of decoration. They work equally well on rigid-heddle and pin-loom fabric, and you can use the same yarn you wove with or a completely different yarn to give the trim a different effect.
While all the trims featured in Easy Weaving with Little Looms so far are ones you work directly onto the weaving, did you know some trims can be knit or crocheted separately, then stitched to the fabric later? I certainly didn’t—at least not until I stumbled upon a project by Heather Winslow from our sister publication Handwoven for a woven scarf with 23 different trims.
Reading over this project, I was amazed at all the different options and uses for these trims, so naturally I had to bring it over to Little Looms. While the full project with all 23 trims is available as a subscriber-exclusive download, I’ve got Heather’s tips for trimming your fabric in style as well as the instructions for two of the trims, one knit and one crochet. (Not a subscriber yet? Learn more about subscriber options and benefits here.)
Secure the raw edges. Serge or machine stitch 2 rows of straight stitching ¼" apart and ¼" from the raw edge of the fabric. If the yarns in the fabric are particularly heavy or very slick and prone to raveling, encase the edges with Seam Finish from Farmhouse Fabrics or a similar bias edging.
More from Little Looms



Comments
No comments yet — be the first to share your thoughts.
Sign in to join the conversation — commenting is for signed-in members.